
This is a Paragraph Font


About the zentangle® method
Zentangle Lessons with Lisa
Lessons on The Zentangle® Method are about so much more than just drawing. They offer a calm, mindful way to relax, unwind and be creative... without any pressure or expectation to be perfect.
Whether you're looking for a gentle way to switch off, a creative outlet or a different approach to mindfulness, my lessons are designed to help you slow down and enjoy the process.
How you can learn
One-to-One Zentangle Lessons
Personalised, relaxed sessions tailored entirely to you. Available online or in person in the Glasgow area, these lessons are perfect if you'd like dedicated time, guidance and space to fully switch off.
Online Courses (Learn at Your Own Pace)
Online Zentangle Lessons – Prefer to learn in your own time? My pre-recorded courses guide you step by step through The Zentangle® Method, giving you the freedom to dip in whenever it suits you.
Group Sessions and Workshops (By Request)
Looking for something creative for your team, community group, or a special occasion? I offer bespoke Zentangle sessions for small groups, corporate wellbeing, and events… just get in touch to chat through what you have in mind.
No artistic experience is needed. The Zentangle® Method is suitable for complete beginners… all you need is an open mind and a willingness to explore.
Because this isn’t about perfection… it’s about the process.
Fancy giving it a go? Get in touch and we’ll find the best option for you.
Understanding The Zentangle® Method
1 - Gratitude and Appreciation
Find somewhere comfortable to draw, take a few deep breaths and take the moment to feel gratitude and appreciation. You could be thankful that you’ve acquired this beautiful paper to tangle on, or for the pen that you are using. Maybe you’re just glad that you have given yourself a moment to yourself to create beautiful artwork
2 - Corner Dots
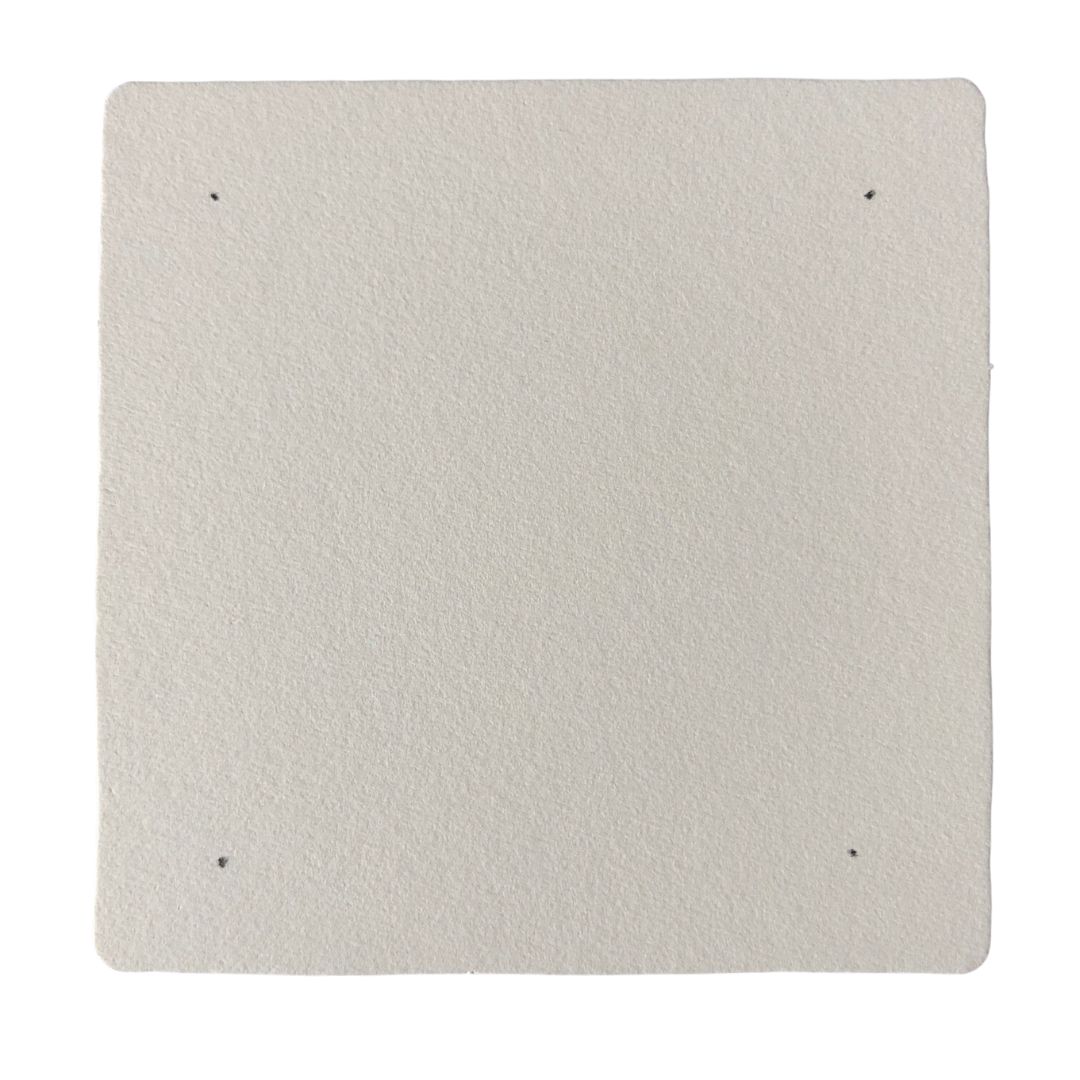
Sitting in front of a blank piece of paper can be daunting. We get too much into our own heads and worry that what we produce won’t be any good. Zentangle has a trick for tackling this. Before doing anything else, use your pencil to put a light dot in each corner about a pen’s width from the edges. Ta-dah! You’re now no longer looking at a blank piece of paper.
3 - Border
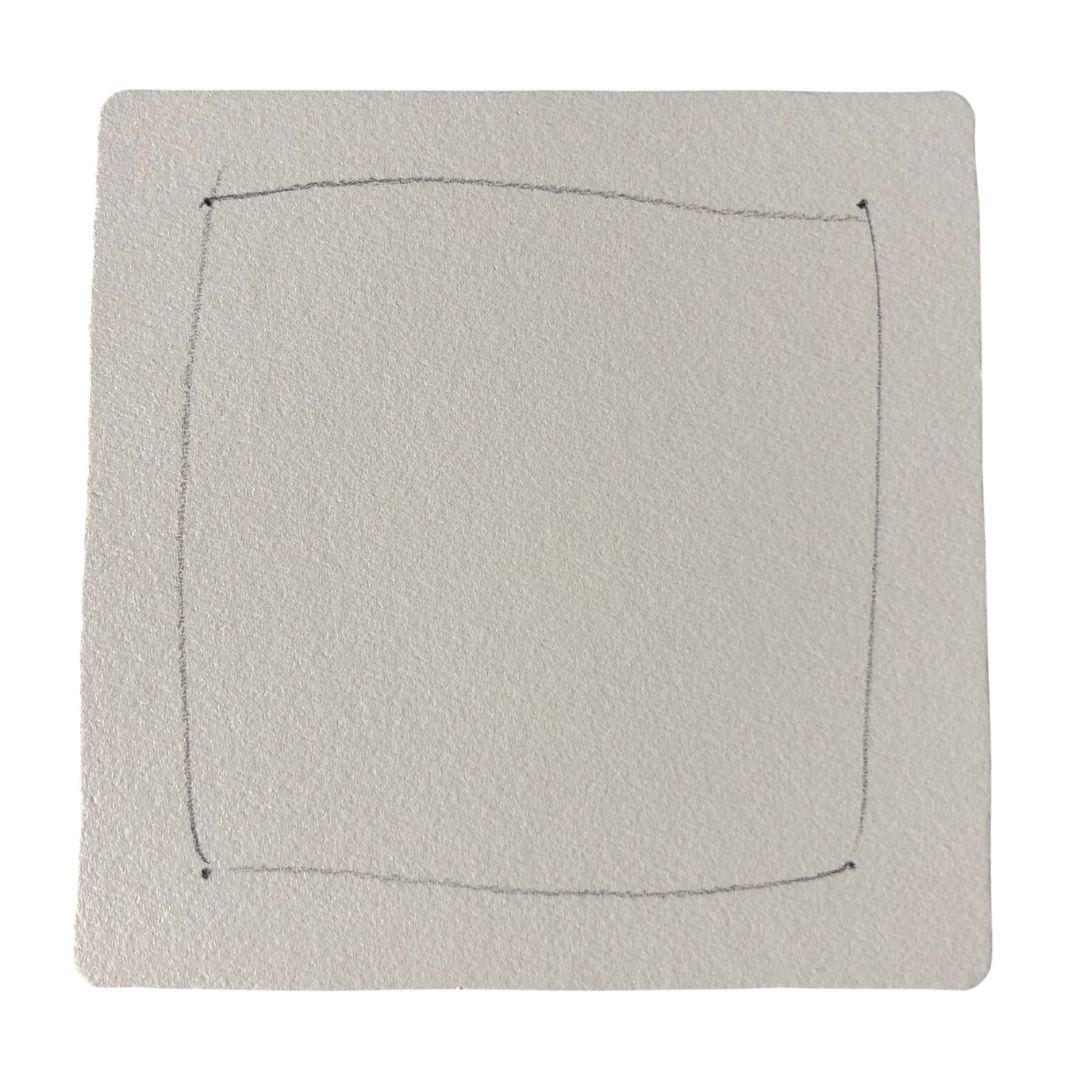
Join the dots with a light pencil line, straight or curvy, to create a square. You now have a border.
4 - String
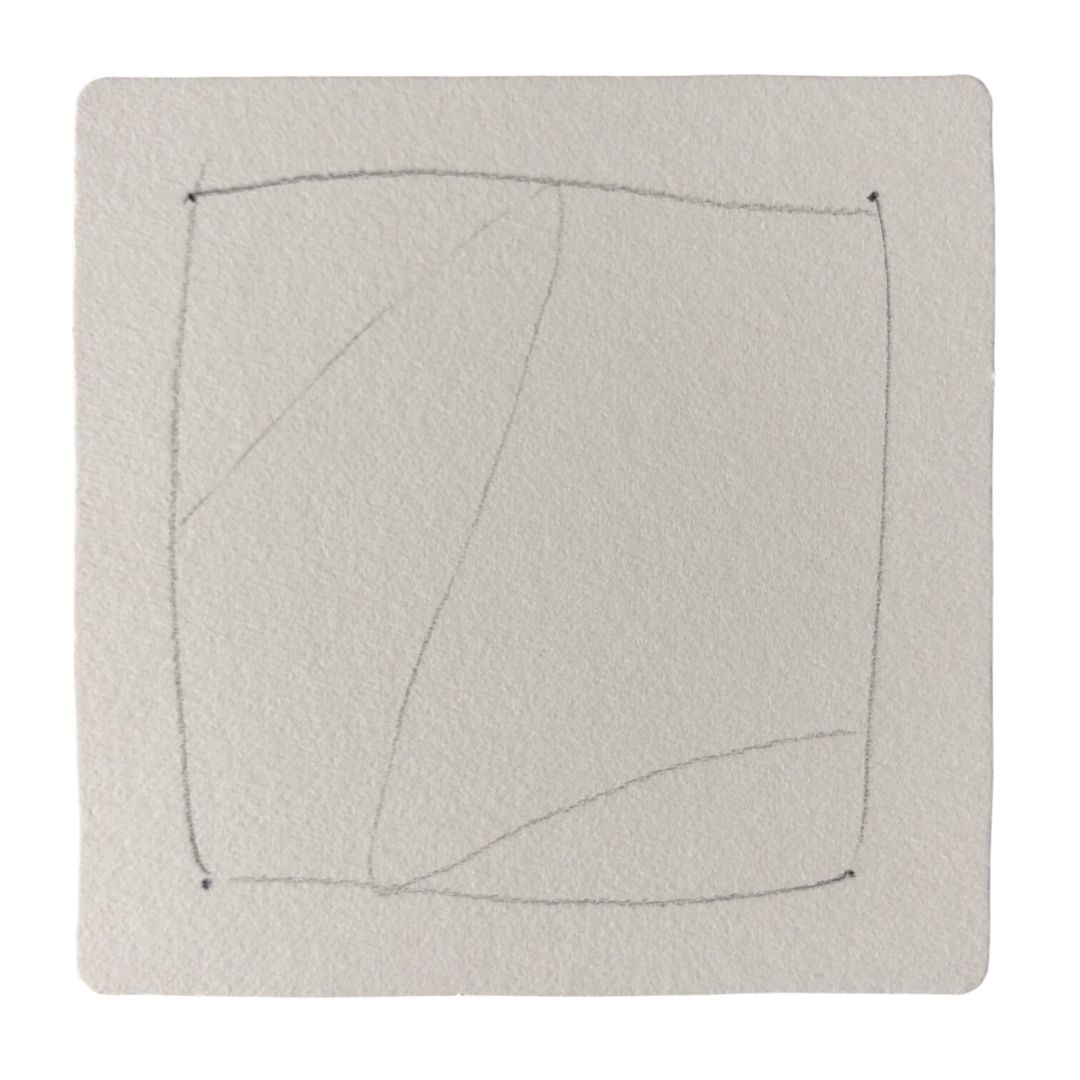
Inside the border, draw a light pencil line or lines to make what we call a “string.” This is simply to separate your tile into sections, into which you draw your tangles – or leave blank, if you prefer. A string can be any shape. It may be a curvy or quite angular. You can choose whether or not it touches the border.
5 - Tangle
A tangle is a series of strokes that make up a pattern. Draw your tangles in pen inside – or sometimes outside – the pencil strings and borders. Tangle is both noun and verb. You tangle a tangle, you don’t Zentangle a tangle. Be very deliberate about each stroke you put on your page. Don’t be concerned about how it’s going to look. The important thing is to take each step at a time – or rather one stroke at a time. Turn your tile this way and that so that you always feel comfortable while drawing.
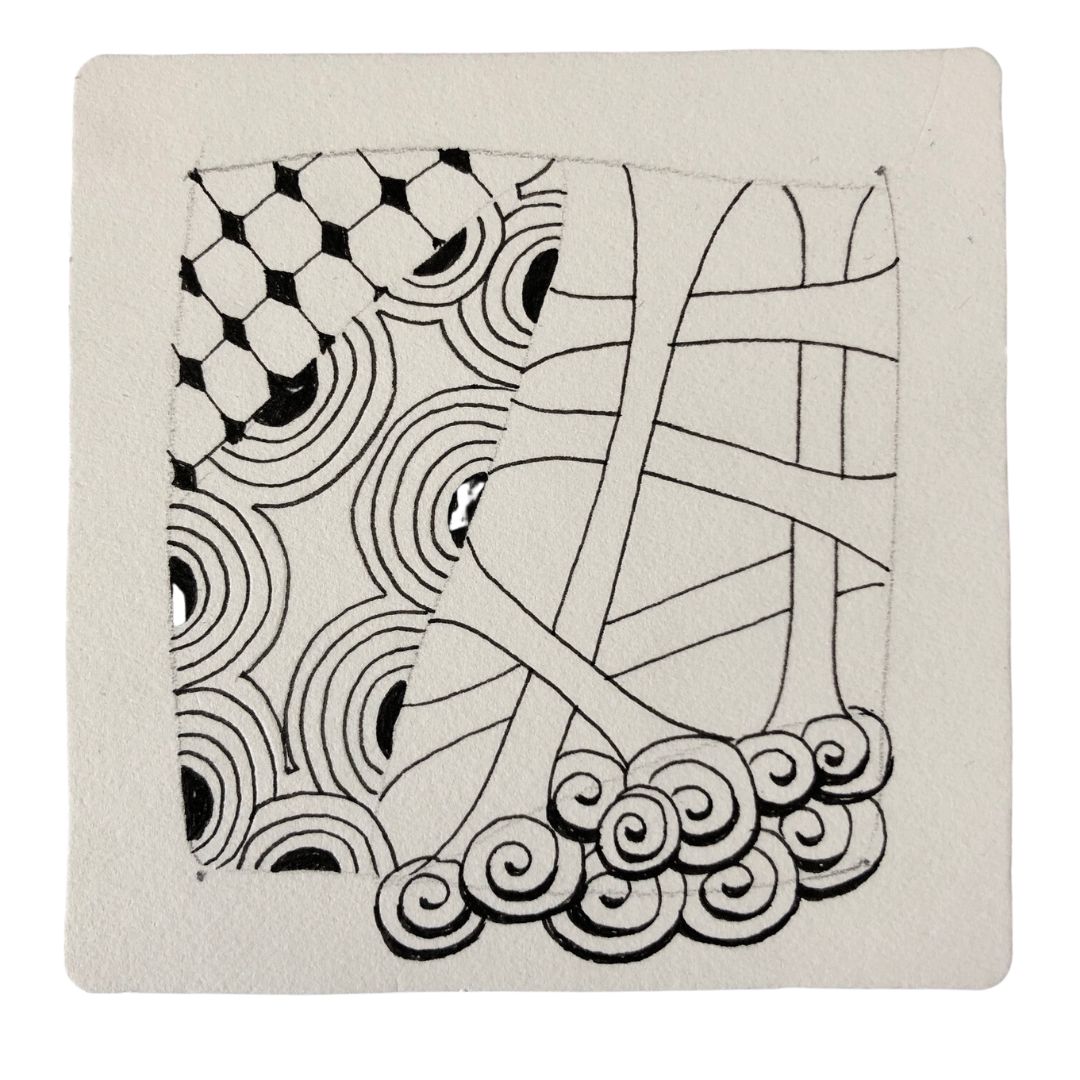
6 - Shade
Once your tangles are complete, it’s time to add some dimension with shading. Add shades of gray with a pencil to add contrast and bring your tile to life. Use a blending stump (tortillion) to soften and blend the graphite and remove any harsh lines.
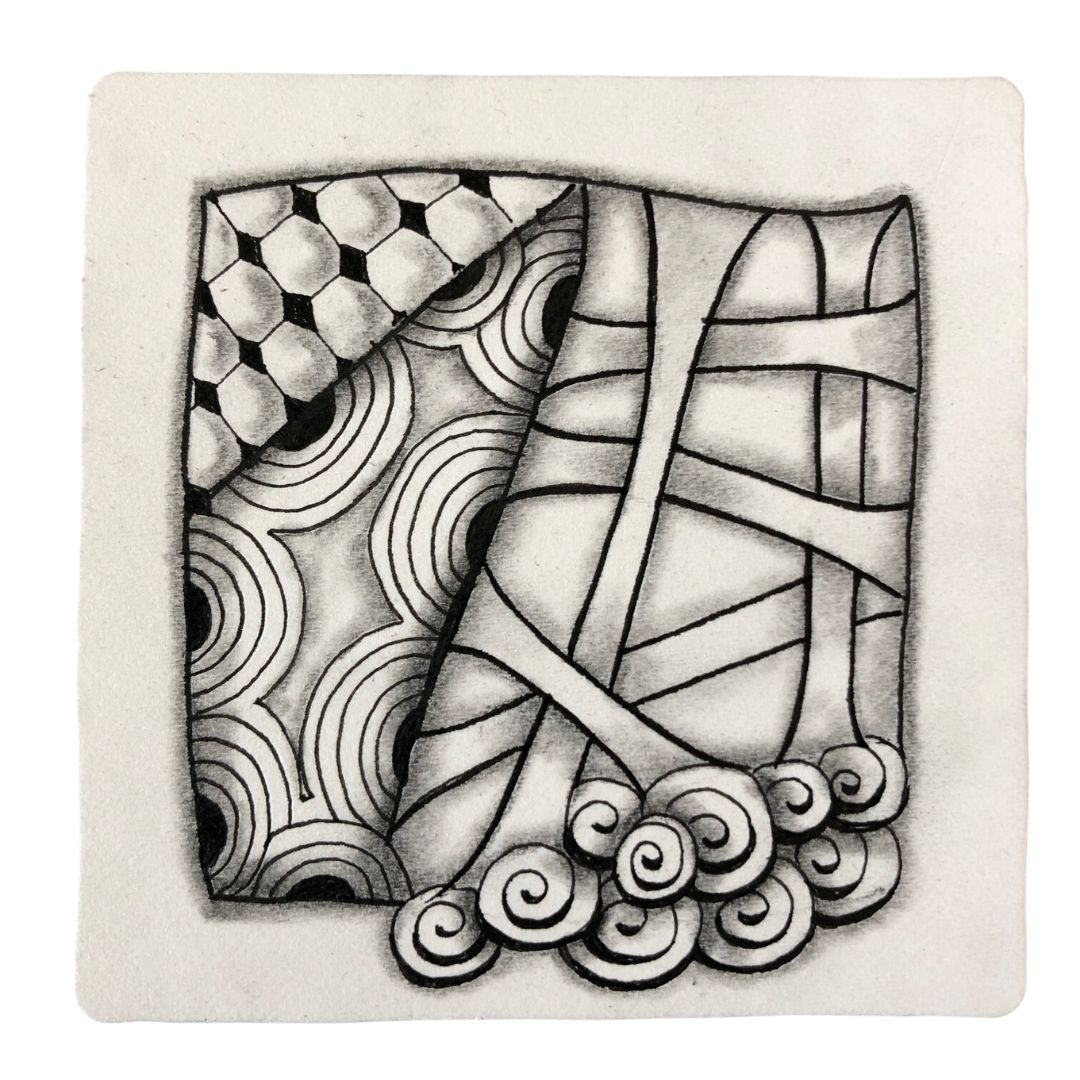
7 - Initial and Sign
This is your artwork and you should be proud of it, so own it. Put your initials on the front (many tanglers create a unique monogram or “chop” for this step). On the back, place your name, date, comments and observations.
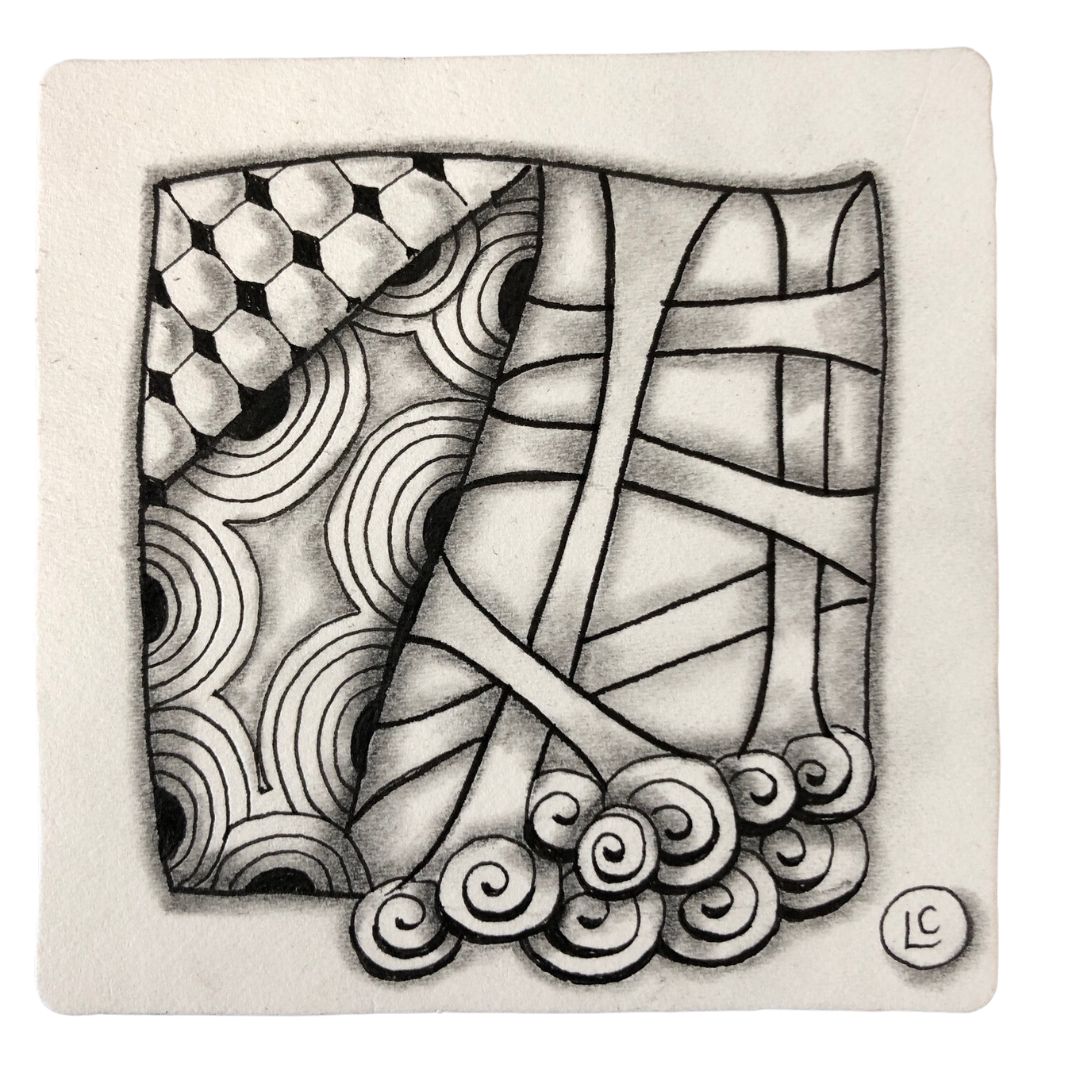
8 - Appreciate
Hold your tile at arm’s length. You just created something beautiful. Allow yourself to feel proud of that.


© 2026 www.lisacrow.co.uk - All Rights Reserved.
Contact
FAQ
Privacy Policy